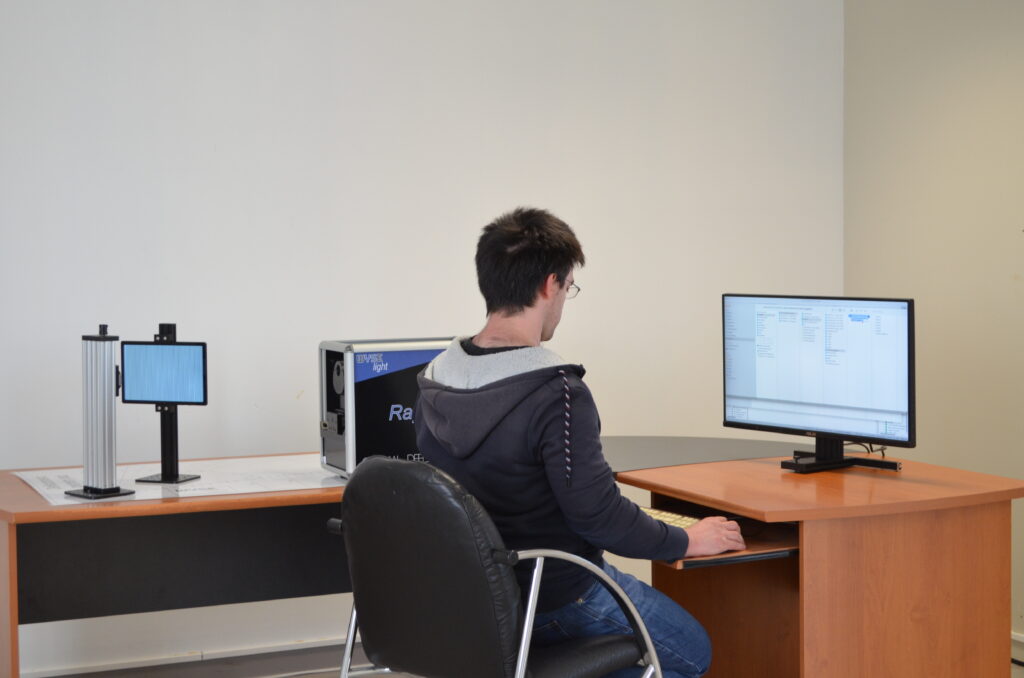
Raymaster 10
The raymaster 10 is designed to perform 3D surface shape measurements with interferometry-like accuracy. Deflectometry allows full field single shot measurements. Our ready-to-go off-the-shelf product is capable of measuring all kinds of optical surfaces: flat, sphere, parabola, off axis aparabola, asphere, cylinder, tore, axicon, freeform… Its compact dimensions and insensitivity to vibrations make it usable even on a regular desk.

The result of the measurement is displayed as a 3D coloured surface map. The color of each point of the surface depends on its altitude.

If the nominal shape is provided, the system also provides the deviation between the measured and nominal shapes. It is not the distance along the surface normal. It is the altitude (z) deviation along the z axis. The x,y plane is chosen to be tangent to the part in the vicinity of its center. The nominal shape is shifted/tilted/rotated with respect to the measured shape so that ∆z is minimized.

The measrement also gives information regarding defects of the surface like scratchs, digs, indents, outdents, and machining or polishing marks.


The result can be exported as a pdf report and a .dat file. This .dat format is compatible with many other software used in optics.
Main features
- Suitable for reflective and semi reflective surfaces (flat, concave, convex, asphere, freeform) even with a relatively low relectivity index like glass (4% reflectivity index). The surface must present a specular reflection to be measured.
- Insensitive to vibrations.
- Non-contact.
- Fast single shot measurement (acquisition in 10 seconds, processing time a few minutes).
- Easy to use, push button device. Suitable for shop floor workers with minimal training (1-2 hours).
- Separate preparation and simulation interface for optical engineers.
- Typical uncertainty of 15 nm RMS. The 15 nm we refer to is the mean RMS we observe between our measurements and others made with alternative systems (Zygo, Luphoscan or Nanomefos), it is rather an empirical value not resulting of a strict uncertainty evaluation.
- Results files format : (x,y,z) points map in .npz and .dat formats (other formats upon request)
The system is designed and manufactured by Wyse Light, and assembled in France by Wyse Light.
Simple setup and operation
The system operates on a standard office desk. No need for an optical bench.
The user interface has been designed so that even a lightly trained operator can make a reliable measurement in a matter of minutes.
Models
The RayMaster10 M2 is our first commercial product.
It is now replaced with the RayMaster10 M4. The RayMaster10 M4 is 30% smaller and has 30% more processing power. It also has a few hardware upgrades to improve robustness and stabilitily after long distance transportation.
We offer different trial options if you are curious to know the performance of our instrument with your samples for which you already have reference measurements. We can also measure samples as a service for samples that you can’t measure with your instruments.
Some surfaces are very challenging to measure with more traditionnal metrology instruments like interferometers. Our instrument has less limitations than interferometers for complex shapes so feel free to contact us for a trial or an offer.